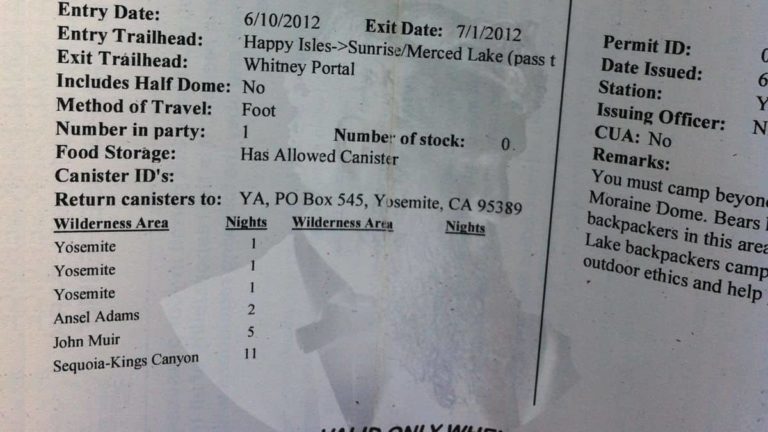
Applying for a John Muir Trail Permit May Have Gotten Easier
It may be easier to apply for a John Muir Trail permit, but getting one may be more challenging, thanks to a revision in this years reservation process.
It may be easier to apply for a John Muir Trail permit, but getting one may be more challenging, thanks to a revision in this years reservation process.

I’ve never really been an umbrella guy, but the Liteflex Trek Umbrella from Swing Trek changed my mind.
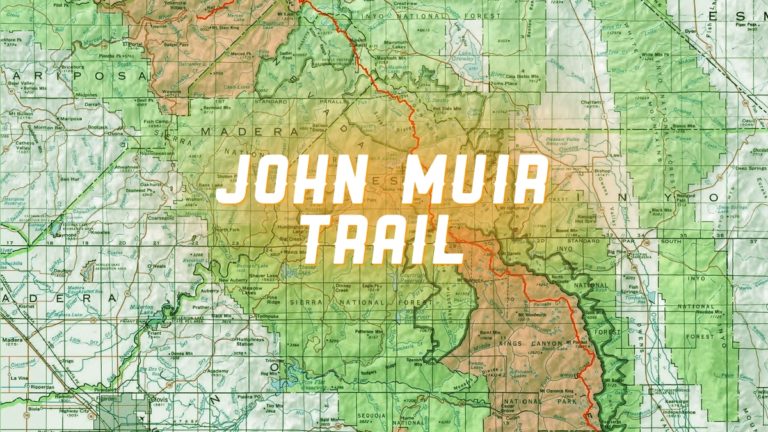
If you want to hike the John Muir Trail, you’re going to a wilderness permit from Yosemite National Park. But how do you get one?
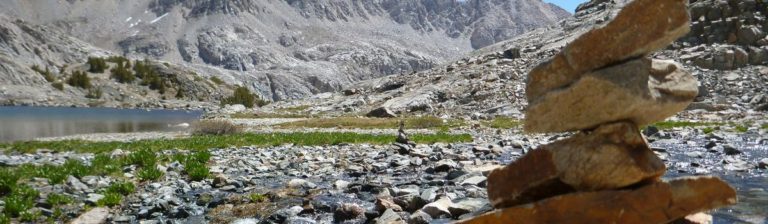
Some people really hate rock cairns. But on the John Muir Trail, they often serve a very useful purpose.
To help non-JMT hikers enjoy some of the other tails within Yosemite National Park, the National Park Service has issued a new interim exit quota system, which took effect February 2, 2015.

John Muir has been dead for 100 years now. But that doesn’t mean his legacy is any less powerful now than it was then.
If you’ve always wanted to hike the JMT, do yourself a favor and bookmark this great John Muir Trail Preparation Guide from Trail to Summit.

I carried 30 pounds or less for the two weeks I hiked the JMT. But some people I met doing an overnight to Mt. Whitney carried significantly more than that. It doesn’t have to be that way, people.
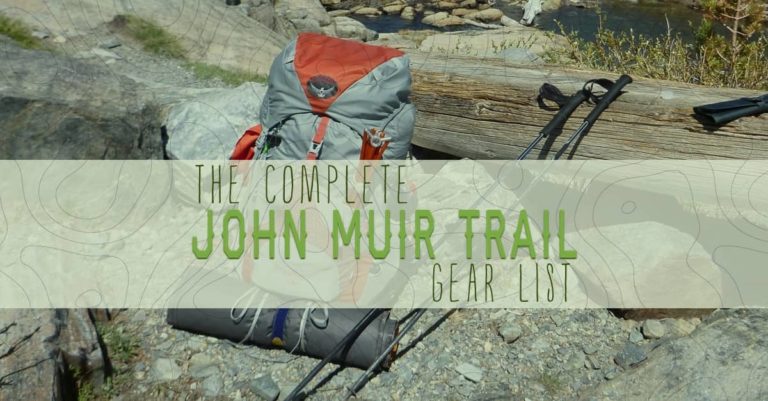
Everything I carried with me on my solo thruhike of the John Muir Trail (and a few things I didn’t).