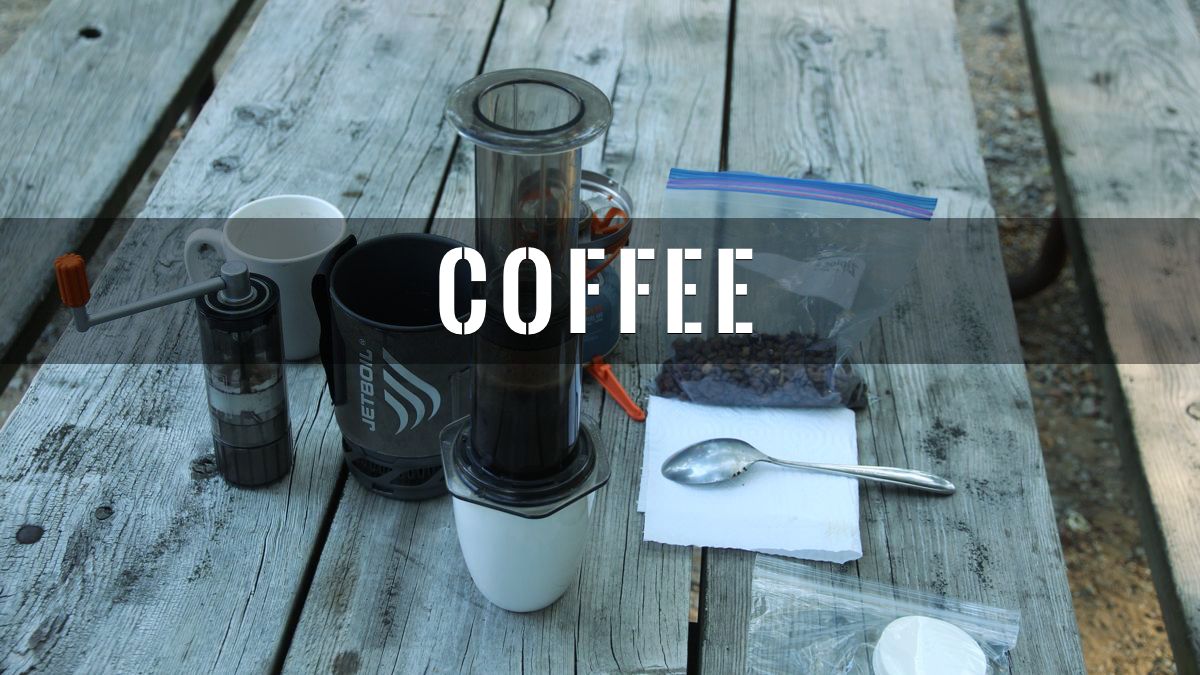
Brewing Perfect Travel Coffee: A Complete Guide
How to Master Making Coffee on a Road Trip
One of the biggest problems faced when traveling is finding a good cup of coffee. From truck stops to gas stations to hotel rooms, the average traveler is subjected to some seriously bad coffee experiences. So if you’re serious about your coffee, there’s only one way to go — make it yourself.
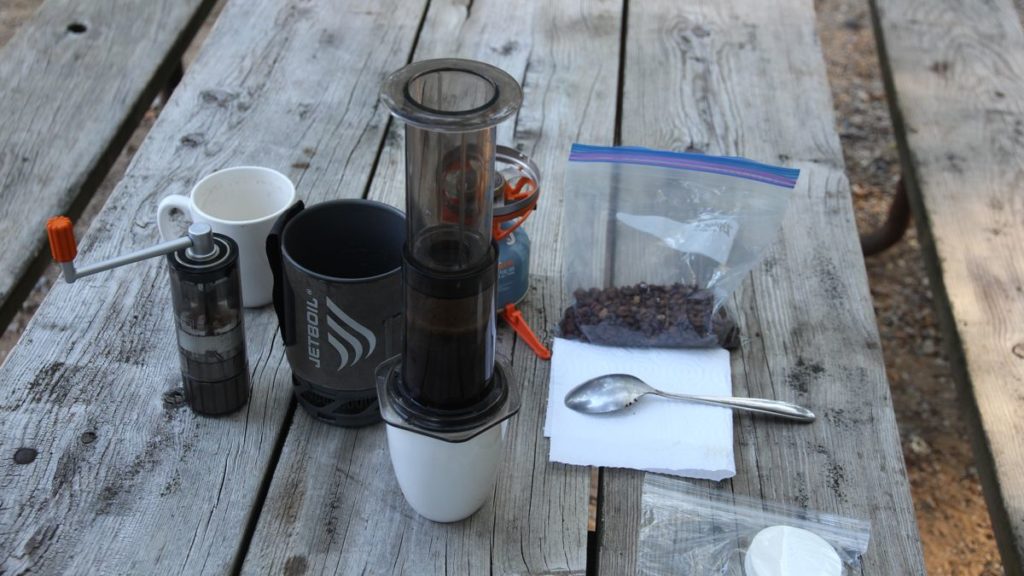
Here’s what you’ll need to start brewing perfect travel coffee.
Travel Coffee Components
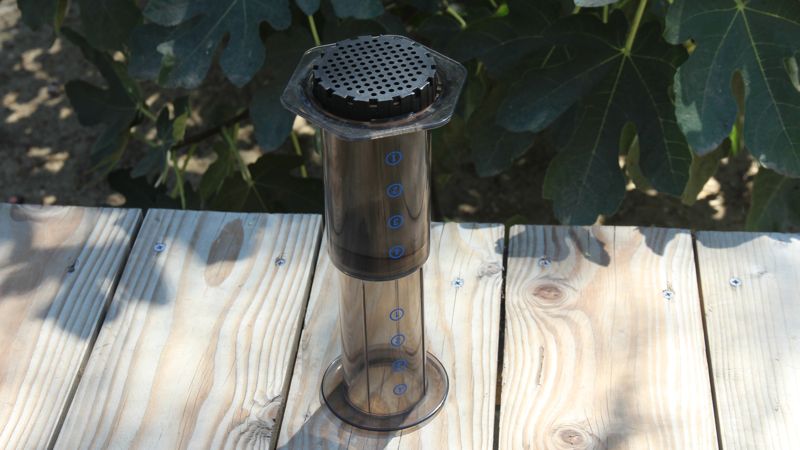
AeroPress
At home I prefer the pour-over method to make the perfect cup of coffee, but the cornerstone of making a good cup of travel coffee is the AeroPress. This is a great device — it’s so good at what it does that some people use it as their exclusive method of coffee making.
The AeroPress comes with a whole bunch of accessories including a scoop and a thick plastic stirring stick, but you only need the device’s three main components — what I call the barrel, the plunger, and the cap.
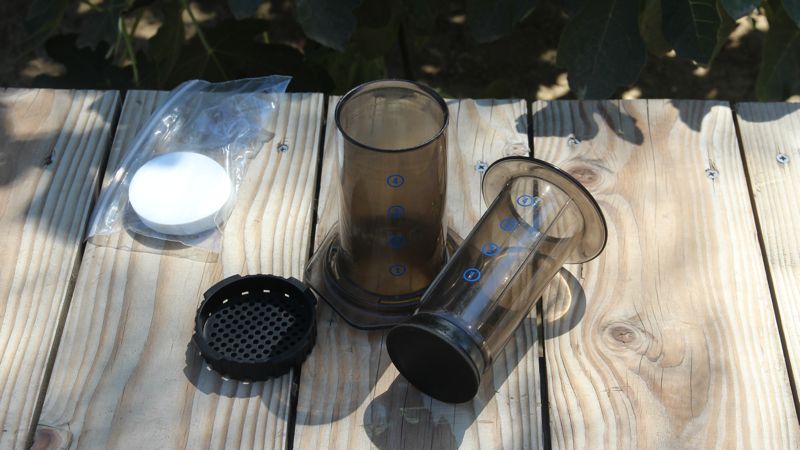
Making a cup of coffee with the AeroPress also depends on filters. A new AeroPress comes with 350 paper filters, which should last quite a while. If you run out, you can buy a pack of 350 Aeropress filters for $5, or if you want to limit your trash footprint you can upgrade to a fine mesh filter. Keep in mind a reusable metal filter allows more of the coffee’s natural oils get into your cup, which can be more flavorful, but it’s also takes a bit more work to clean up. I prefer the paper filter for the best brew-and-go experience.
GSI Outdoors JavaMill
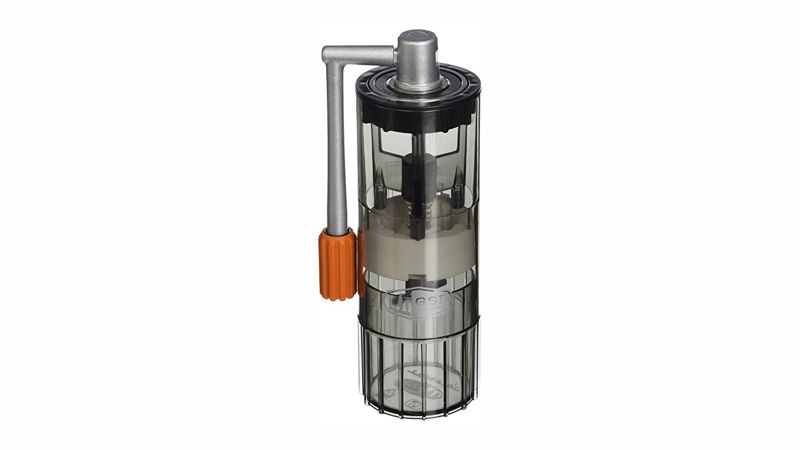
Sure you can buy a bag of ground coffee, but for a fresh flavorful cup of coffee, grinding your own whole beans is the preferred way to go. One of the best tools for grinding your beans when you’re on the road is the GSI Outdoors JavaMill.
GSI makes a lot of great camp cooking tools, and this lightweight java mill is no exception. It’s a handheld ceramic burr grinder, and using it helps to ensure that your beans have a consistent grind. It has a folding, nesting handle to make storing it easier, and it’s the perfect size for grinding up to about 30 grams of coffee (enough for two batches of AeroPress coffee).
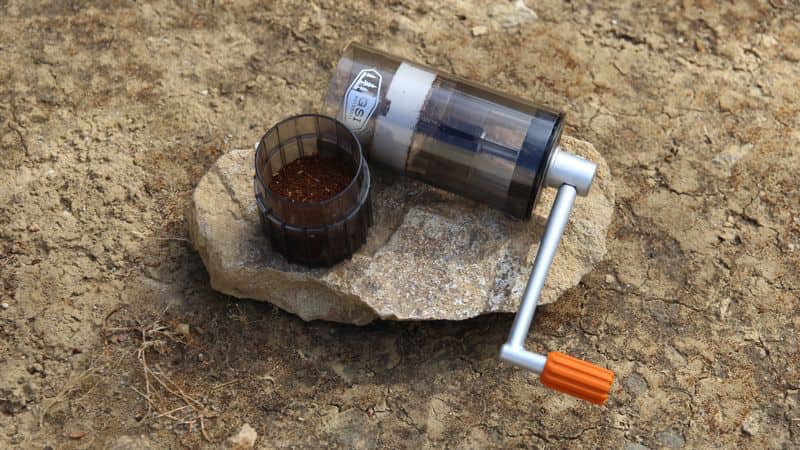
This little tool will set you back around $30. For something a little fancier, you could go with the Porlex Mini, but that’ll ding your wallet for more than $50 and, for our purposes here, doesn’t offer a significantly better grind.
JetBoil Flash
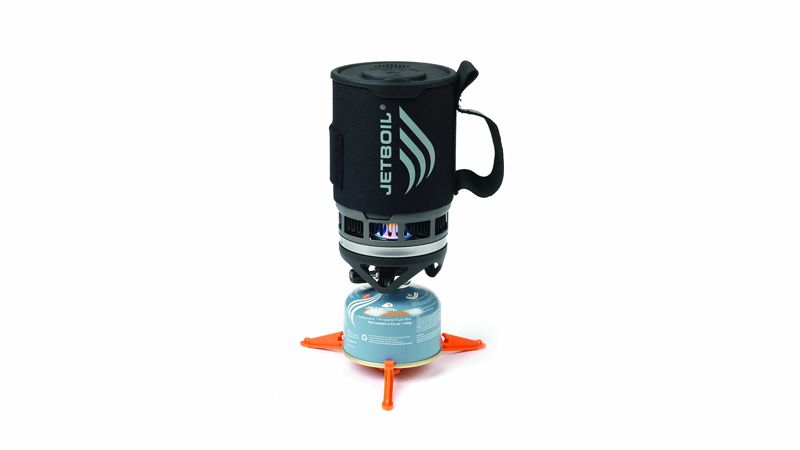
To make a good cup of coffee, you need a quick, effective way to boil water, and I don’t know of any quicker way than using a JetBoil stove. The JetBoil Zip ($90) can boil 500 ml (16 ounces) of water in just more than two minutes. It has a quick-starting piezo igniter that makes firing it up as easy as pushing a button.
Of course you’re going to need fuel to fire up the stove, and a 100g canister of isobutane/propane fuel, which runs about $5-$10 from any outdoor adventure store, will boil you many liters of water.
You can save a few bucks and go with the smaller JetBoil Zip ($90), but the downside to this model is that it doesn’t come with a push-button igniter. But you’re probably traveling with a lighter, so this limitation may not be an issue.
Good Coffee Beans
To make a good cup of coffee, you need good coffee beans. On a recent trip, I brought along a Ziploc bag of whole beans from Ruby Coffee Roasters, which proved to be quite excellent. But any locally roasted beans will serve you well.
Before Venturing Out
A good ratio for coffee is 1 gram of coffee to 16 milliliters of water, but it’s hard to accurately measure that on the road. Sure, you could bring a small digital scale along with you, but that complicates things to the point of obsessiveness. So I recommend measuring in advance.
I found that the JavaMill can grind up to 30 grams of beans in one go, but the AeroPress can only hold about 200 ml of water at a time. So I measured out 12 grams of beans in advance on my home scale and marked the side of the JavaMill’s ground coffee receptacle with a Sharpie. This isn’t going to give us a perfect coffee:water ratio (12 grams of coffee would need only 192 milliliters of water), but it’s going to be close enough for achieving a cup of perfect travel coffee.
Brewing Perfect Travel Coffee: The Process
There are two ways to brew with the AeroPress, the standard method and the inverted method, where you turn it upside down to brew then flip it over to get the coffee into your cup.
I’ve found the inverted method allows for a little more control over the quality of the finished cup of coffee, so that’s what I prefer to use. The whole process goes like this:
12 Steps to Perfect Travel Coffee
- Start boiling water in the JetBoil.
- Grind the beans with the JavaMill. Grinding 12 grams of beans should take you about a minute at a leisurely pace.
- Slide the rubber plunger into the AeroPress until it’s about the midpoint of the number 4 on the barrel.
- Turn the JetBoil upside down and pour the grinds into the brewing chamber.
- After the water reaches a boil, turn off the JetBoil and wait a few minutes. Ideally, the water temperature should cool to between 195° and 205° F (91°—96° C), but you probably don’t have a cooking thermometer on your travels, so a few minutes of waiting will get you close enough.
- Add water to the barrel of the AeroPress until the water level is just below the number 3. Wait about 30 seconds, allowing the grounds to de-gas.
- Add more water until it reaches the top of the AeroPress. this will be approximately 200 ml.
- Give the brewing coffee a stir to mix things up, then screw the filter cap (along with a filter, of course) onto the AeroPress.
- Wait 30 seconds or so (depending on how strong you like your coffee) to let the coffee steep.
- Place your mug upside down over the AeroPress, then flip the whole contraption over in one smooth motion. This can be tricky — I recommend a few practice runs.
- Press down on the plunger with a steady pressure for an even extraction.
- Enjoy your perfect travel coffee … and independence from the tyranny of bad coffee options.
That’s it. Now that you know how to brew a delicious cup of perfect travel coffee with minimal tools, minimal effort, and minimal mess., there’s no reason to drink bad road trip coffee ever again.