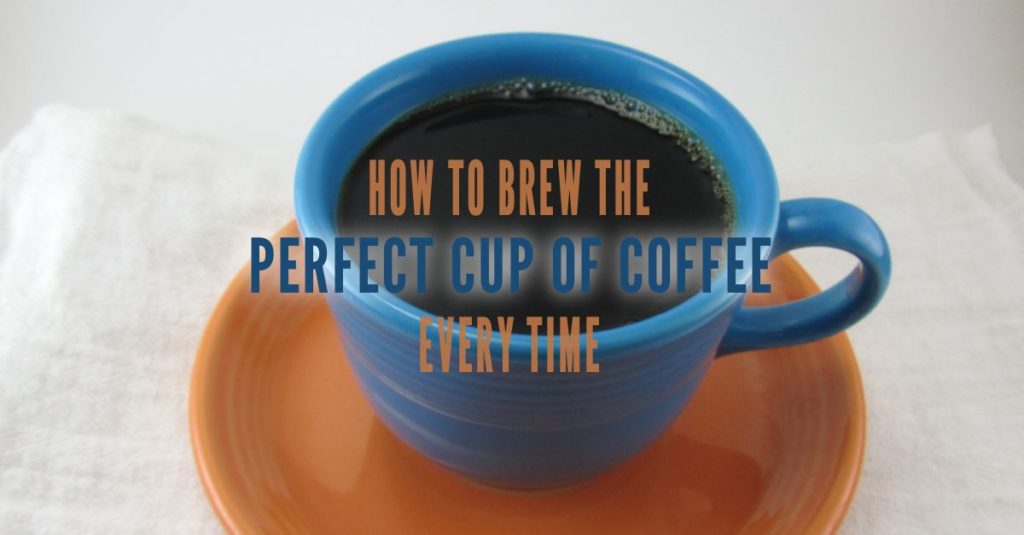
How to Brew the Perfect Cup of Coffee Every Time
The quest for the perfect cup of coffee is an endless journey.
Many people have strong opinions on how to make a perfect cup of coffee. I’ve been drinking coffee since I was about five years old, so I know a thing or two about the subject.
The Equipment
Coffee Beans
First, you need good beans. Finding freshly roasted coffee beans isn’t too challenging these days. But in the old days I was a big fan of Tonx. I find that the fine folks at Tonx provide consistently good — and more often than not excellent — beans. They charge $19 for a 12oz supply postpaid. They ship bi-monthly in useful little boxes, and the 12oz almost lasts me two weeks. For variety, I fill in the remaining days with Intelligentsia or Handsome Coffee.
Update: Since this was first written, Tonx and Handsome Coffee were both acquired by Blue Bottle; Intelligentisa was bought by Peet’s. I now shop for freshly roasted beans at local coffee shops.
Storage
For optimal flavor, it’s best to grind your beans right before you brew your coffee. That means you need a good place to store them. Don’t keep them in the refrigerator, but you do need to keep them from oxidizing. For storing beans and keeping them fresh, I’ve found the Tightvac Vacuum Sealed Storage Container works great (Although now the company is called Tightpac, which seems less descriptive).

Coffee Bean Grinder

Whole beans are fine to munch on, but you need to grind them in order to get a perfect cup of coffee. The grind should be uniform and even. You just can’t get this from a standard blade grinder. For a good, consistent grind you need a burr grinder. I use the Capresso Infinity 565 Conical Burr Grinder. Sure, there are better (that is, more expensive) models out there, but this one strikes a nice balance between affordability and functionality.
Coffee Scale
Any scale that measures in grams will work. I’m currently using the KitchenTour Coffee Scale, but the Hario Coffee Drip Scale & Timer is a great option. In addition to weighing your beans, the Hario includes a drip timer so you can really get that bloom time dialed in (more on this later).
Kettle

You need hot water to brew coffee, and I used to use a Bonavita One Liter Electric Kettle heats the water quickly. Plus, it has a nice gooseneck spout for more control while pouring. But it doesn’t seem to be available at the moment.
Another option is the Bonavita Variable Temperature Kettle. It’s a little more expensive (and I don’t think it heats the water quite as quickly as the non-variable variety), but you can dial in the temperature to what you want. I shoot for 206° F.

Brewing & Serving
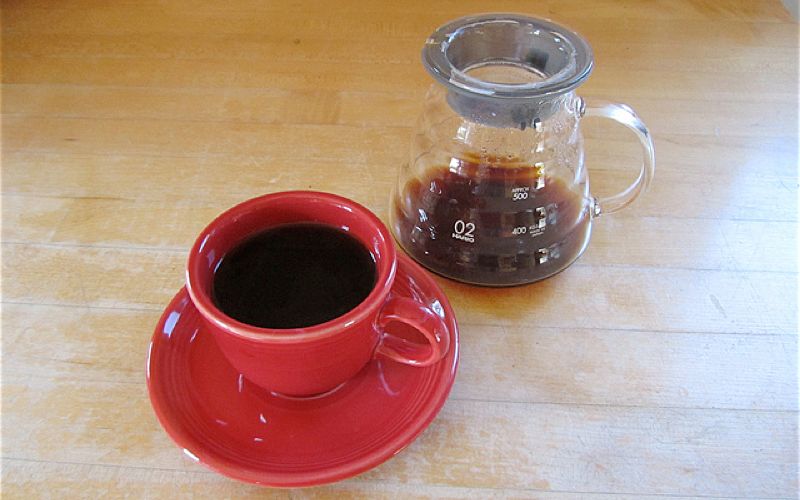
Presentation is important. I use the Hario V60 Ceramic Coffee Dripper over the Hario V60 Range Server. This offers a basic set-up that is both easy to use and looks classy.
On Coffee and Water and Ratios
First, let’s talk about the proper coffee to water ratio. Many sources recommend one gram of beans for every 16 milliliters of water, but I prefer a slightly stronger cup, so I shoot for a 1:15 (coffee to water) ratio. If that’s too much math, then try 30 grams of coffee per 500 milliliters of water. A little experimentation may be necessary to find the ratio that’s right for your tastes.
By the way, using the metric system makes this easy. All you need to know is one milliliter of water weighs one gram.
The Process of Making the Perfect Cup of Coffee
Once you’ve got the right equipment and have determined your desired coffee:water ratio, making a consistently delicious cup of coffee is this simple:
- Boil your water. This takes a little while, so it’s best to tackle the next few steps as the water heats up.
- Weigh your coffee. Through years of experimentation, I’ve found that 28 grams of beans makes two cups of coffee, which is perfect for my morning routine.
- Grind your beans. As mentioned above, the fresher your grind, the better your coffee. For the best coffee, grind the beans to a uniform consistency (which has been called the tactile equivalent of both “fine sand” and “coarse sea salt,” depending on the source material).
- Prep for your pour. Place the ceramic cone over the glass carafe, and put those together over the scale, then wait for the water to boil. I can usually get in
a game of Hackycata Duolingo lesson or two while I wait for the boil. - When the boil is done, place a paper filter into the ceramic cone and wet it with water from the kettle. This serves two purposes. It rinses the filter of any paper residue that can make your coffee taste funny, and warms the ceramic cone and glass carafe. It also helps keep the filter open. I used to skip this, because it seemed like a silly step. But I can totally tell the difference when I rinse the filter. Or maybe I pretend that I can. Either way, a moist filter makes the next few steps easier.
- Pour the ground beans (henceforth known as the grounds) into the now-moist filter. Shake the ceramic cone a little bit to even out the grounds.
- Tare the scale. This sets the scale to zero, ignoring whatever weight is already on it, which allows you to accurately add the right amount of water to the grounds. This is an important, often overlooked step that ensures an accurate coffee:water ratio.
- Now it’s time to add the water. For this, many people recommend a temperature of 195° F to 205° F. Some connoisseurs use a thermometer, but I’ve never found that I need the temperature to be perfectly precise, just within that 10-degree range. As soon as the water stops boiling it will start losing energy (i.e., it cools off), and I’ve found that by the time I wet the filter and get ready to pour, I’m right in that zone.
- Time to start brewing! Pour water over the grounds, slowly in a circle, carefully wetting all the grounds until you’ve added the first 60g of water. Let that stand for 45 seconds to “bloom,” which brings out the flavor in the coffee. As the grounds bloom, they’ll bubble and gurgle softly, what the pros call “degassing.”
- When the bloom has finished, slowly add water for the next 2 minutes and 30 seconds until you get to the right amount of water (per my desired ration of 1:15, for 28g of beans, I aim for 420g of water), then let the extraction finish. From the first drops of water to the last drop of coffee, the process should take around three and a half minutes.
- Pour into your favorite cup and sip your perfectly brewed coffee with gusto.