Some Writing
A selection of short essays, thoughts, recipes, and ephemera.
- Hiroshima Hypocenter
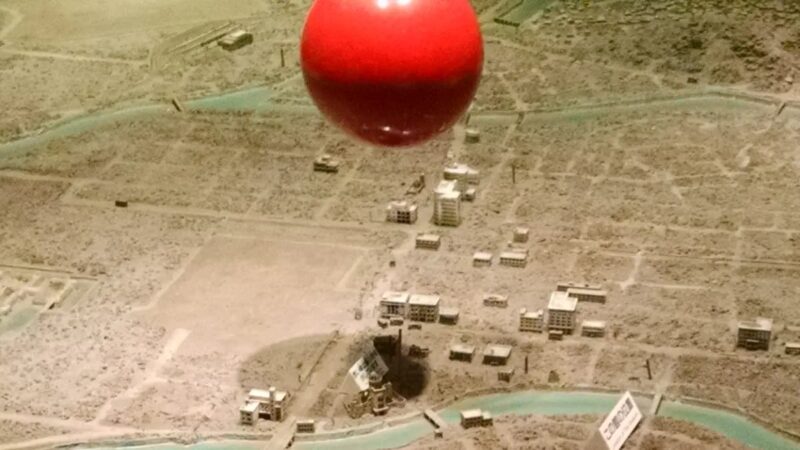 A small plaque marks the spot of the Hiroshima Hypocenter.
 - The Evolution Basin in the Sierra Nevada Mountains
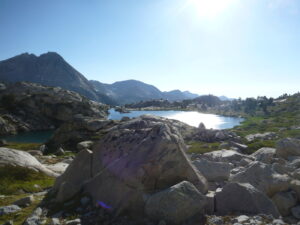 The Evolution Basin is easily the most beautiful place I have ever had the fortune to visit.
 - Death on the Expense Line
 Back in 1989, I entered a lot of A/P expenses. You wouldn’t believe how it was back then.
 - Some Thoughts on Burrito Tape
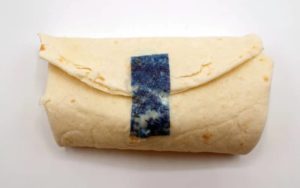 Burrito Tape: A necessary tool of the modern age or a food-grade inventor flex? You decide.
 - A Fishing Story
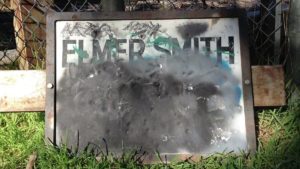 Elmer Smith? Yeah, sure. I’ll tell you about Elmer Smith, one of the happiest gents I’ve ever had the pleasure to meet.
 - Eggnog
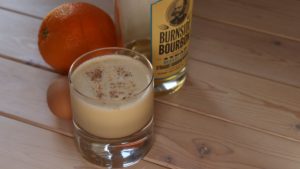 There’s no cocktail that’s more perfect for winter weather than Eggnog. And the best Eggnog is one you make yourself.
 - How to Brew the Perfect Cup of Coffee Every Time
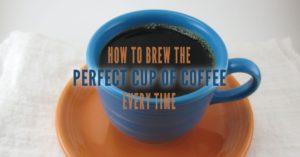 I’ve been drinking coffee since I was five years old, so I know a thing or two about the subject. This is the right way to make a perfect cup of coffee.
 - Happy Twin Peaks Day!
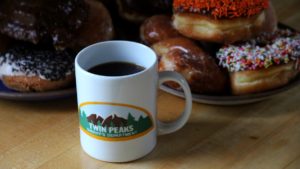 February 24 has been known to fans of the television show Twin Peaks as Twin Peaks Day. So go celebrate!
 - Seven Crazy Coffee Contraptions (Volume 3)
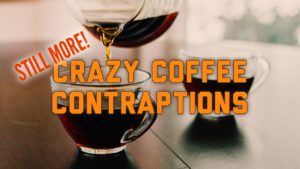 Even more crazy coffee contraptions that may or may not produce a superior cup of coffee.
If you’d like to read more about cultural oddities and offbeat observations as they happen, I invite you to sign up to receive my twice-monthly (on a good month) email newsletter. That’s where the real action is.